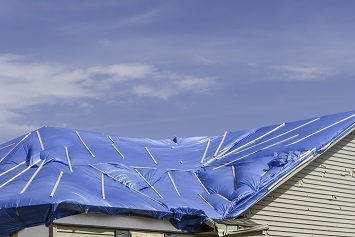
Securing A Tarp To A Roof
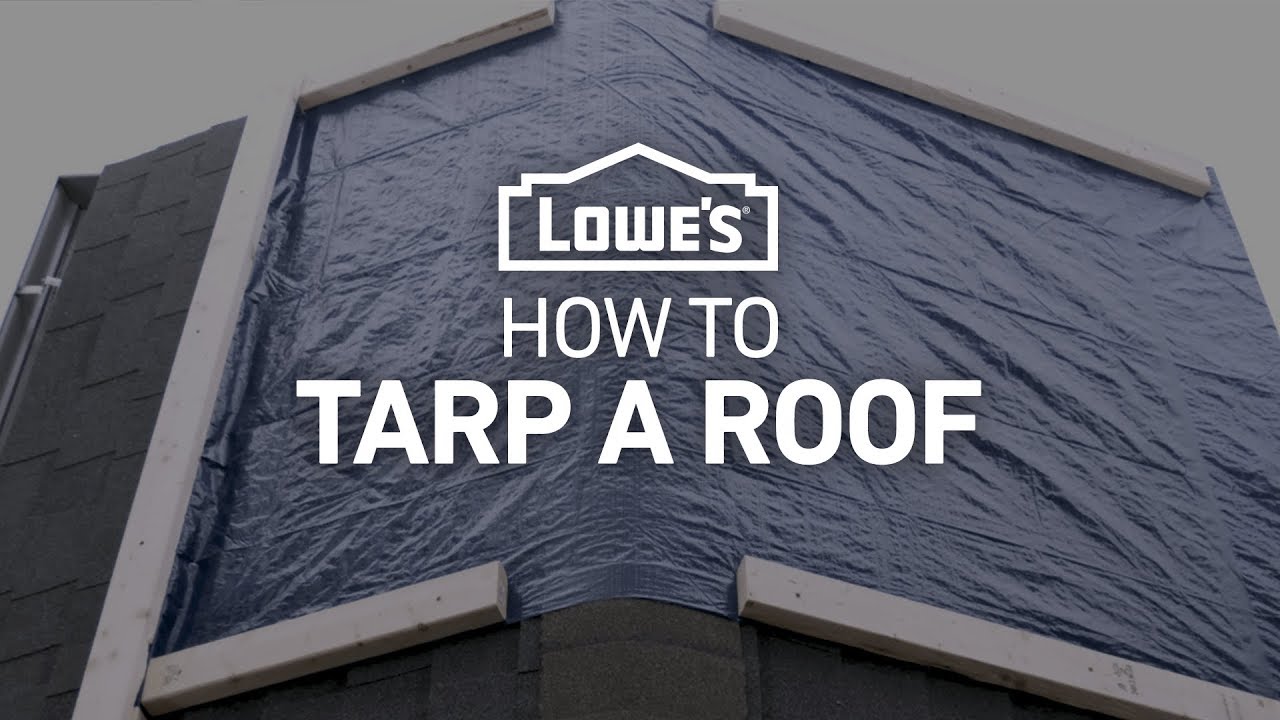
How To Tarp A Roof The Home Depot
How To Tarp A Roof Severe Weather Guide Youtube

How To Cover Your Roof After Storm Damage Hunker

How To Tarp A Roof

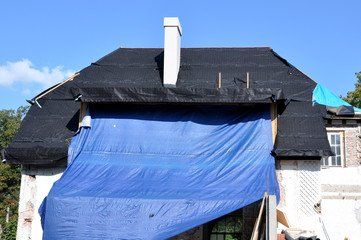
How To Cover Your Roof With Paterson Poly Blue Tarps

7 Steps To Temporarily Patch Your Roof With A Tarp Roof Emergency Roof Repair Roof Patch Roof Repair

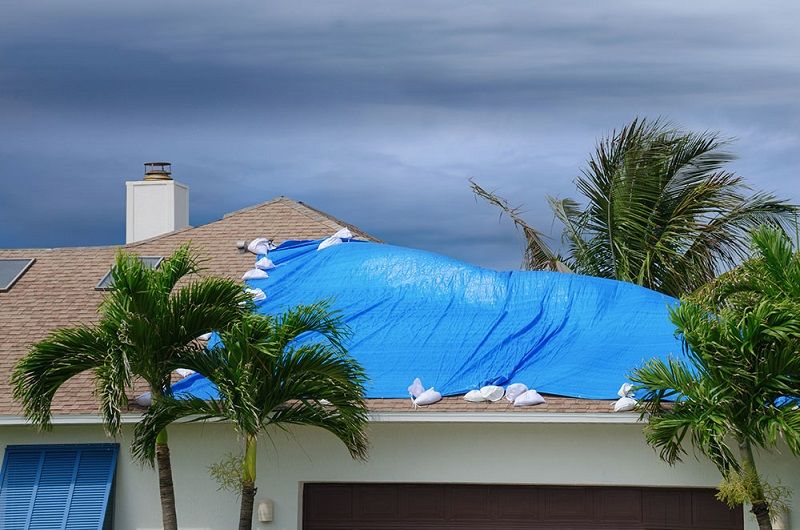
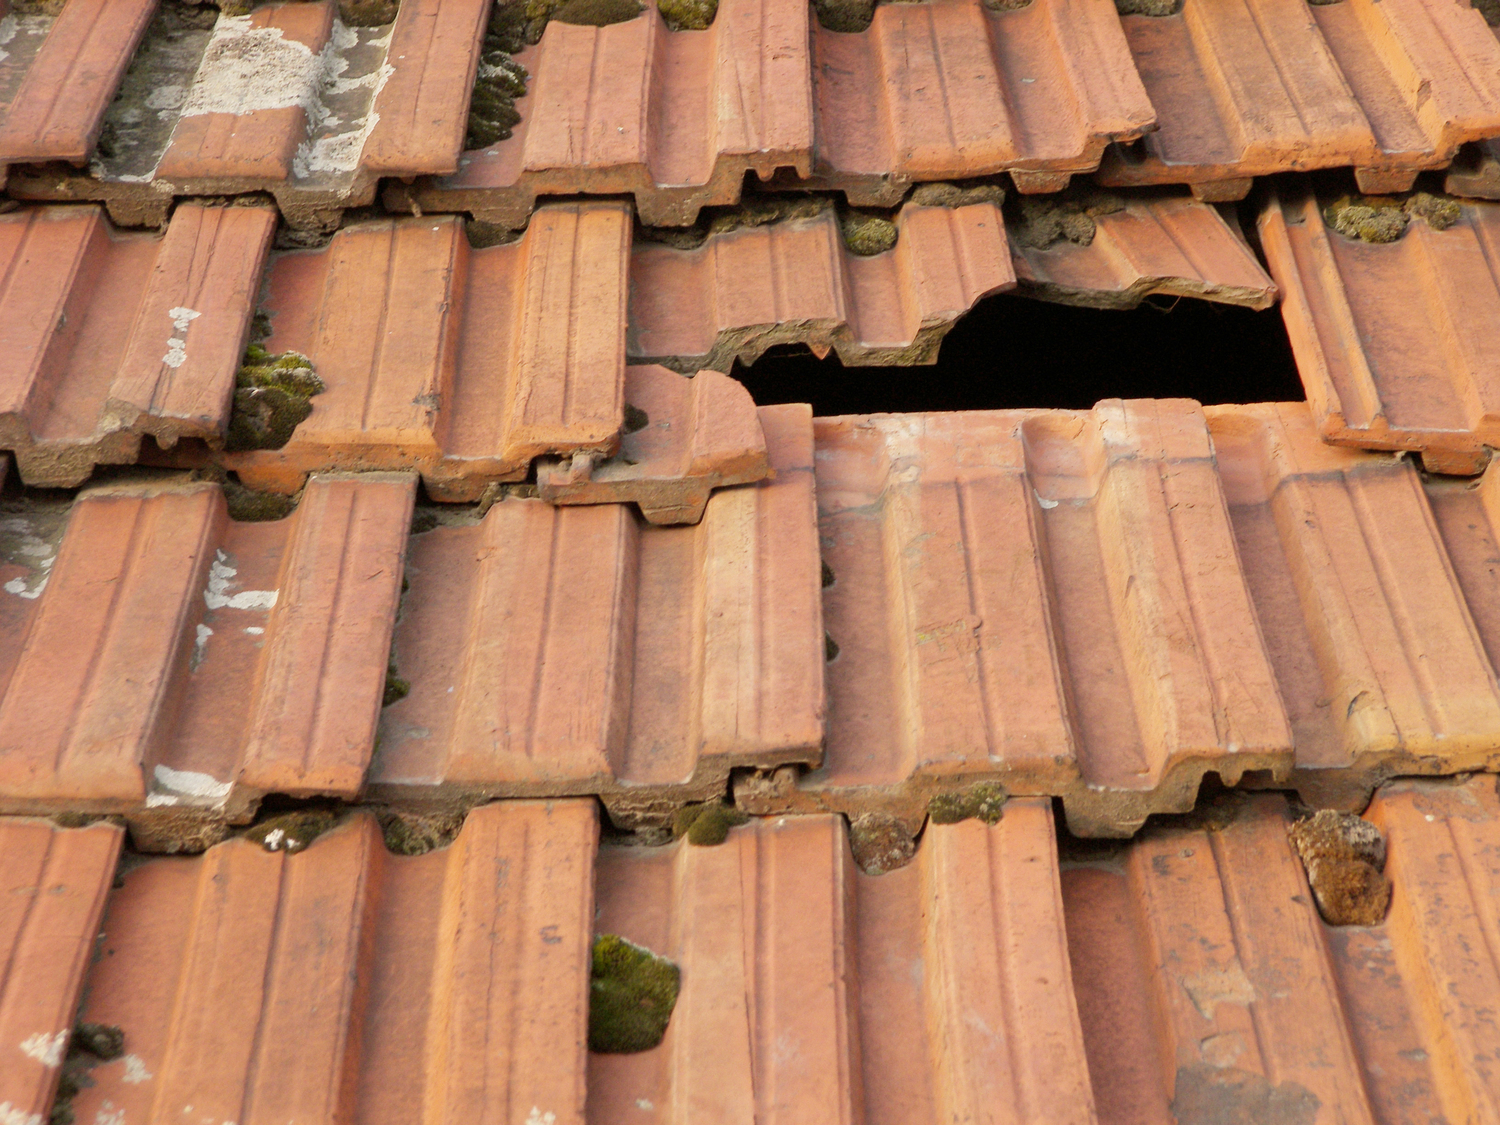
This will prevent water and debris from entering the damaged area.
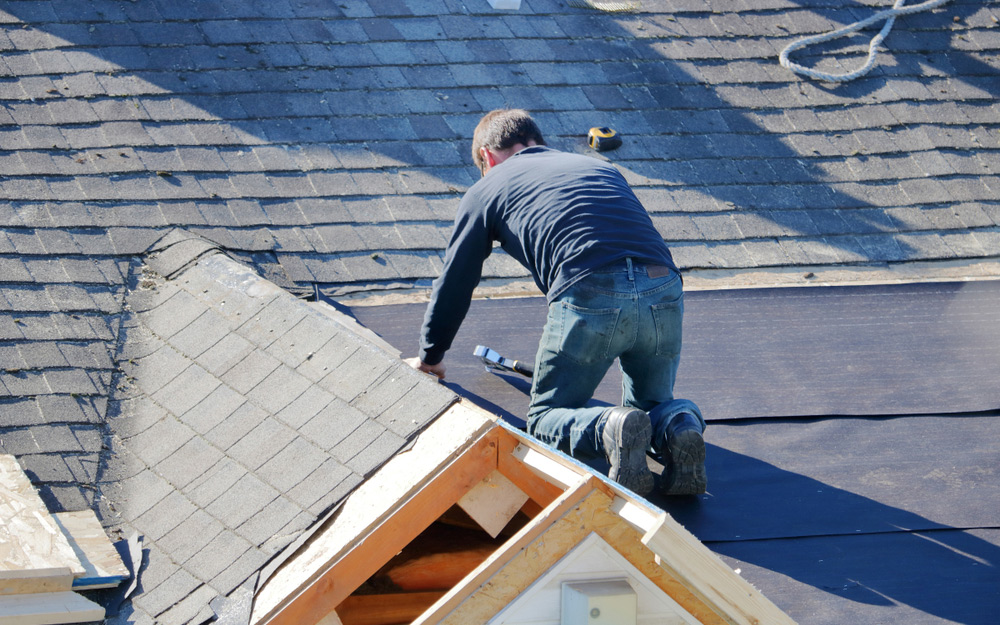
Securing a tarp to a roof.

How To Temporarily Patch A Leaky Roof With A Tarp
How To Tarp A Roof For Temporary Roof Repair

Tarping A Damaged Roof Blue Tarp Services Gotcha Covered Contracting
How To Tarp A Roof Without Nails Contractor Quotes

Install A Blue Tarp On A Roof Diy In A Hour

Free Tarps Available For City Of Melbourne Residents Looking To Secure Home Roofs After Hurricane Irma

Utarpit Self Adhesive Roofing Tarp For Pros The Home Depot Youtube

Tarp Roofing An Ultimate Guide Canvasandcanopy Com

Protect My Roof While I Am Waiting For Repairs Fix My Roof

Utarpit Installation Instructions Xtarp Solutions Corp

How To Tarp A Roof After A Hurricane My Winter Haven Fl

How To Install Tarp Protection To Keep A Project Safe

How To Tarp A Roof After A Storm A1 Tarps

How To Tarp A Flat Roof Canopiesandtarps Com

Use A Tarp To Cover Your Roof Mr Roof Repair

Pvc Tarps Heavy Duty Construction And Protection

Tarps For Roofing Tarps Roofing Roofer

How To Tarp A Roof Like A Pro Grizzly Tarps Blog
Https Encrypted Tbn0 Gstatic Com Images Q Tbn 3aand9gcqhb7ffttswzcd5bnmttwzlb2ltnhgsraaqv1abzyggrzzoka9a Usqp Cau
How To Tarp A Tile Roof Orlando Roof Tarping Roof Repair Orlando Temporary Repair

Osha S Hazard Exposure And Risk Assessment Matrix For Hurricane Response And Recovery Work Roof Inspection Tarping Repair And Replacement

Amazon Com Ez Travel Collection 20x40 Replacement Canopy Top Cover Outdoor Party Canopy Roof Tarp White Garden Outdoor

Ez Grabbit Tarp Tie Down 48 Pack Advanced Functionality Tarp Clips Clamps Holder Tie Off Cinch Fastener For Wall Tent Boat Pool Cover Canopy Hay Cargo Camping Storage Canvas Amazon Com
Blue Roof Recommendations From Osha Ehs Daily Advisor
Source : pinterest.com
